

































Using Sustee is easy. Insert it, water your plant, then let the colour tell you when it’s time to water again.
Step 1: Set
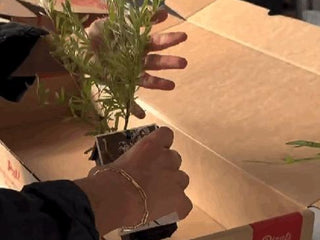
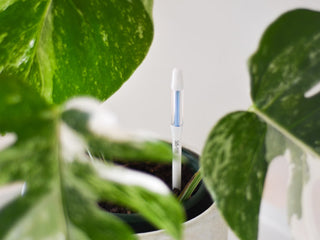
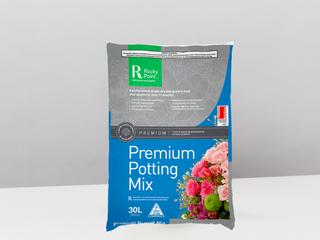
Insert Sustee into the potting mix at the base of your plant, pushing it down to between the ▼▲ marks on the meter. Place it within approximately 20 cm of the plant so it can monitor moisture around the roots.
Make sure the bottom opening is completely covered by the potting mix, while the top opening remains above the surface. As the mix settles over time, check that the sensing area is still covered.
Already watered your plant? You can prime Sustee first by placing it in a cup of water until the indicator turns blue, then insert it into the pot.
Step 2: Water
With Sustee inserted, water your plant thoroughly and evenly. When using Sustee for the first time, water generously to activate the meter.
The indicator will change from white to blue as moisture reaches the sensing core. This could take around 20–30 minutes, although it can take up to an hour depending on the potting mix and size of the pot.
Step 3: Monitor
Leave Sustee in your pot so it can continuously monitor moisture around the roots.
🔵 Blue = sufficient moisture — no watering needed
⚪ White = soil is dry — time to water
If you can still see any blue, wait before watering. Water only when the indicator is completely white.
Watering Changes With the Seasons
Your Sustee may change colour more quickly in summer and stay blue for longer during winter. This is completely normal and reflects how quickly your potting mix is drying out.
Sustee helps you adjust your watering naturally, without relying on a watering schedule.